Open Plans
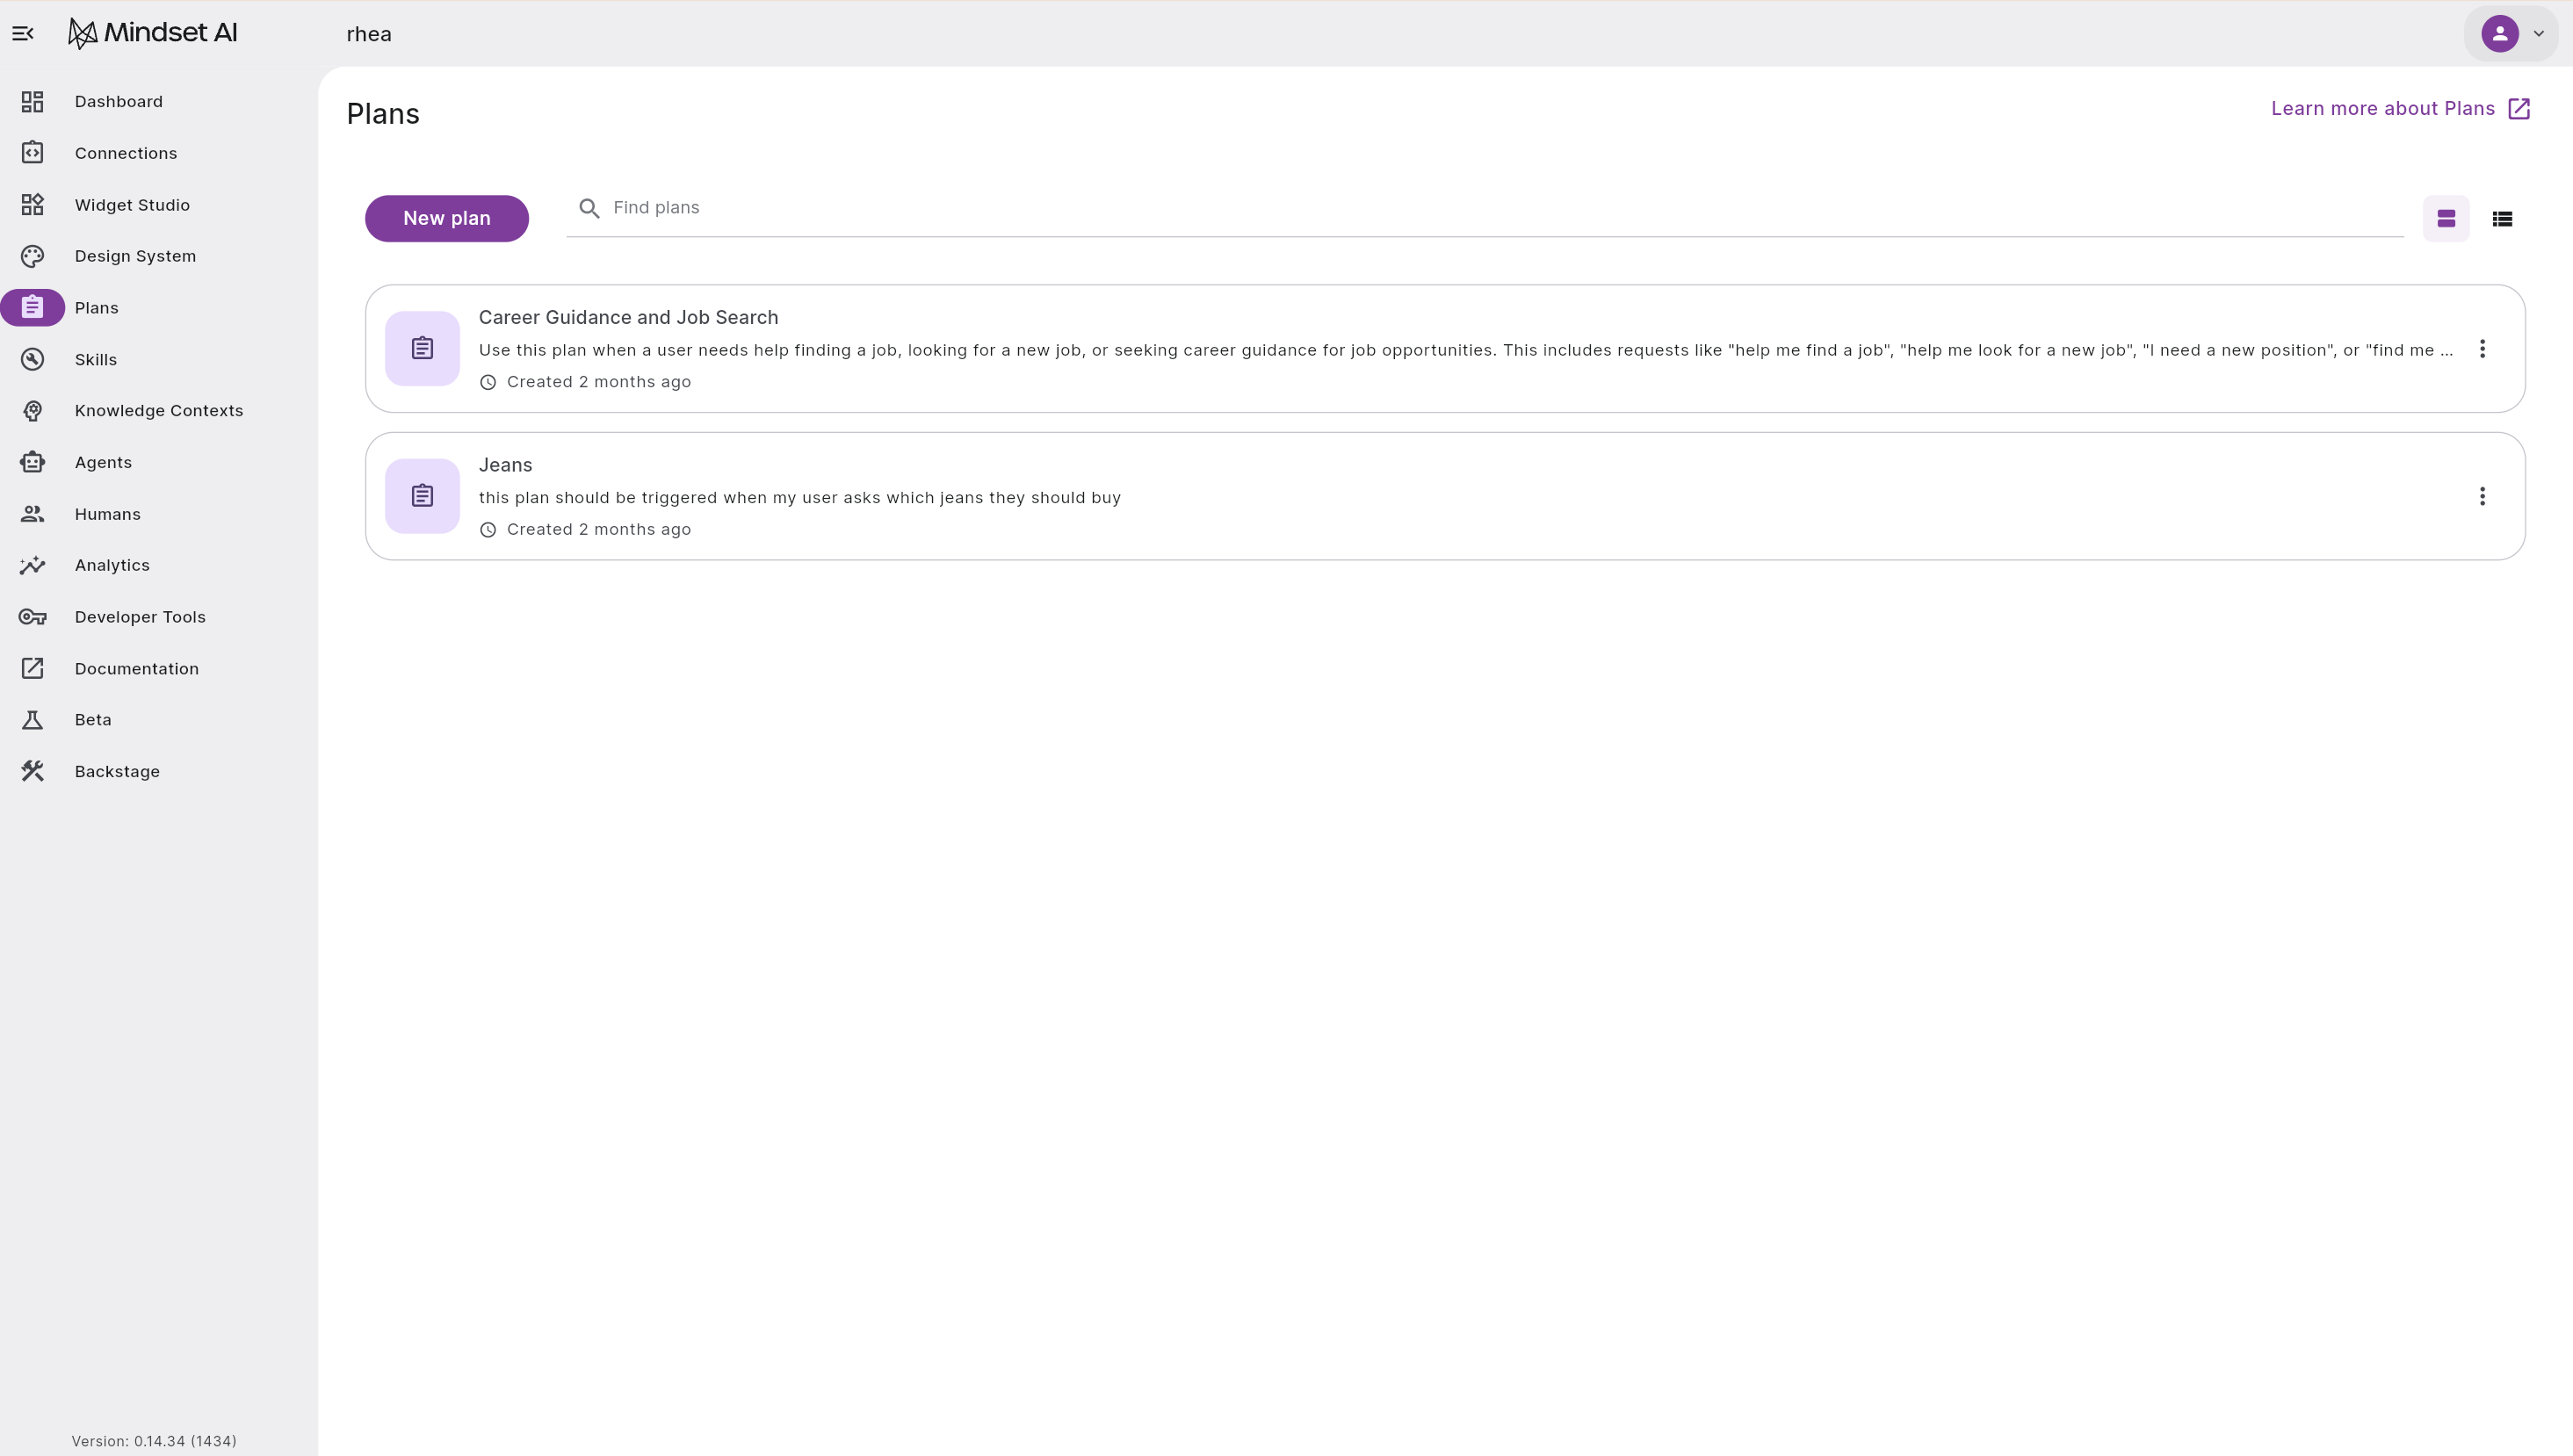
From the Agent Management Studio dashboard, select Plans in the left-hand menu.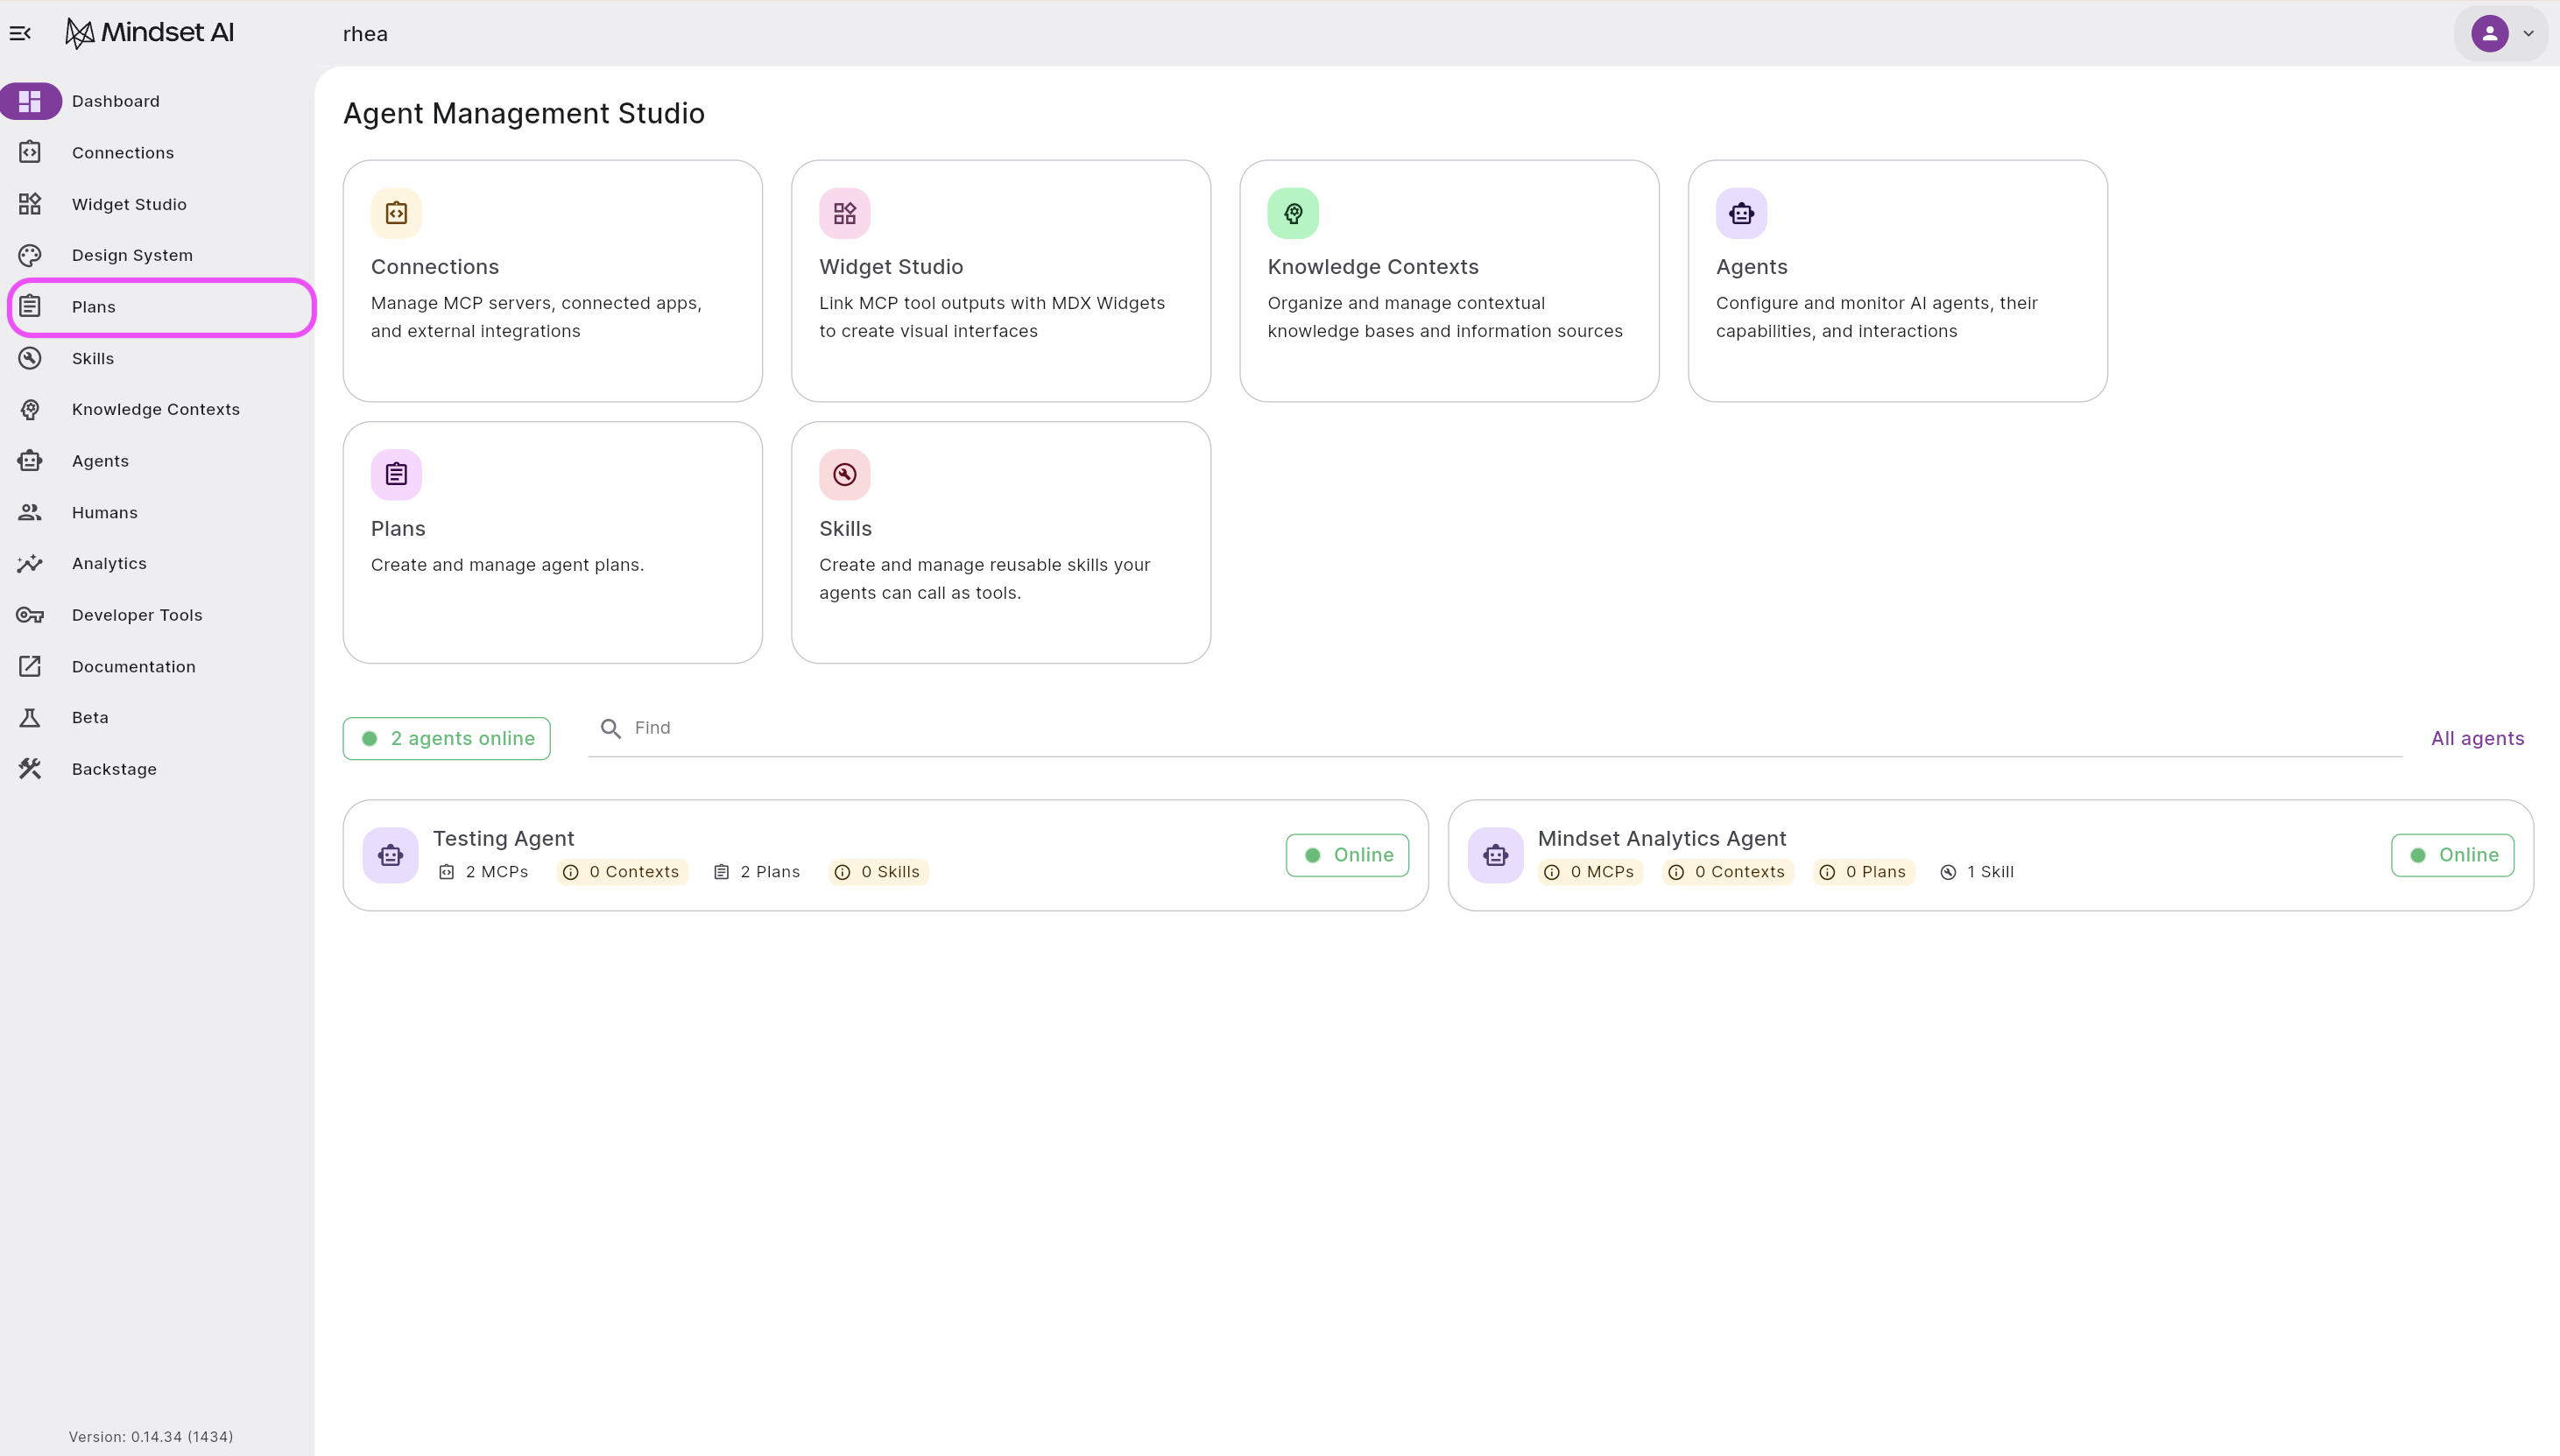 The Plans page lists any Plans you’ve already created. Select New plan to start a new one.
Build your Plan
The plan editor has two halves: a chat with the Plan Creator Agent on the left, and your plan’s details on the right. You can build a Plan from either side.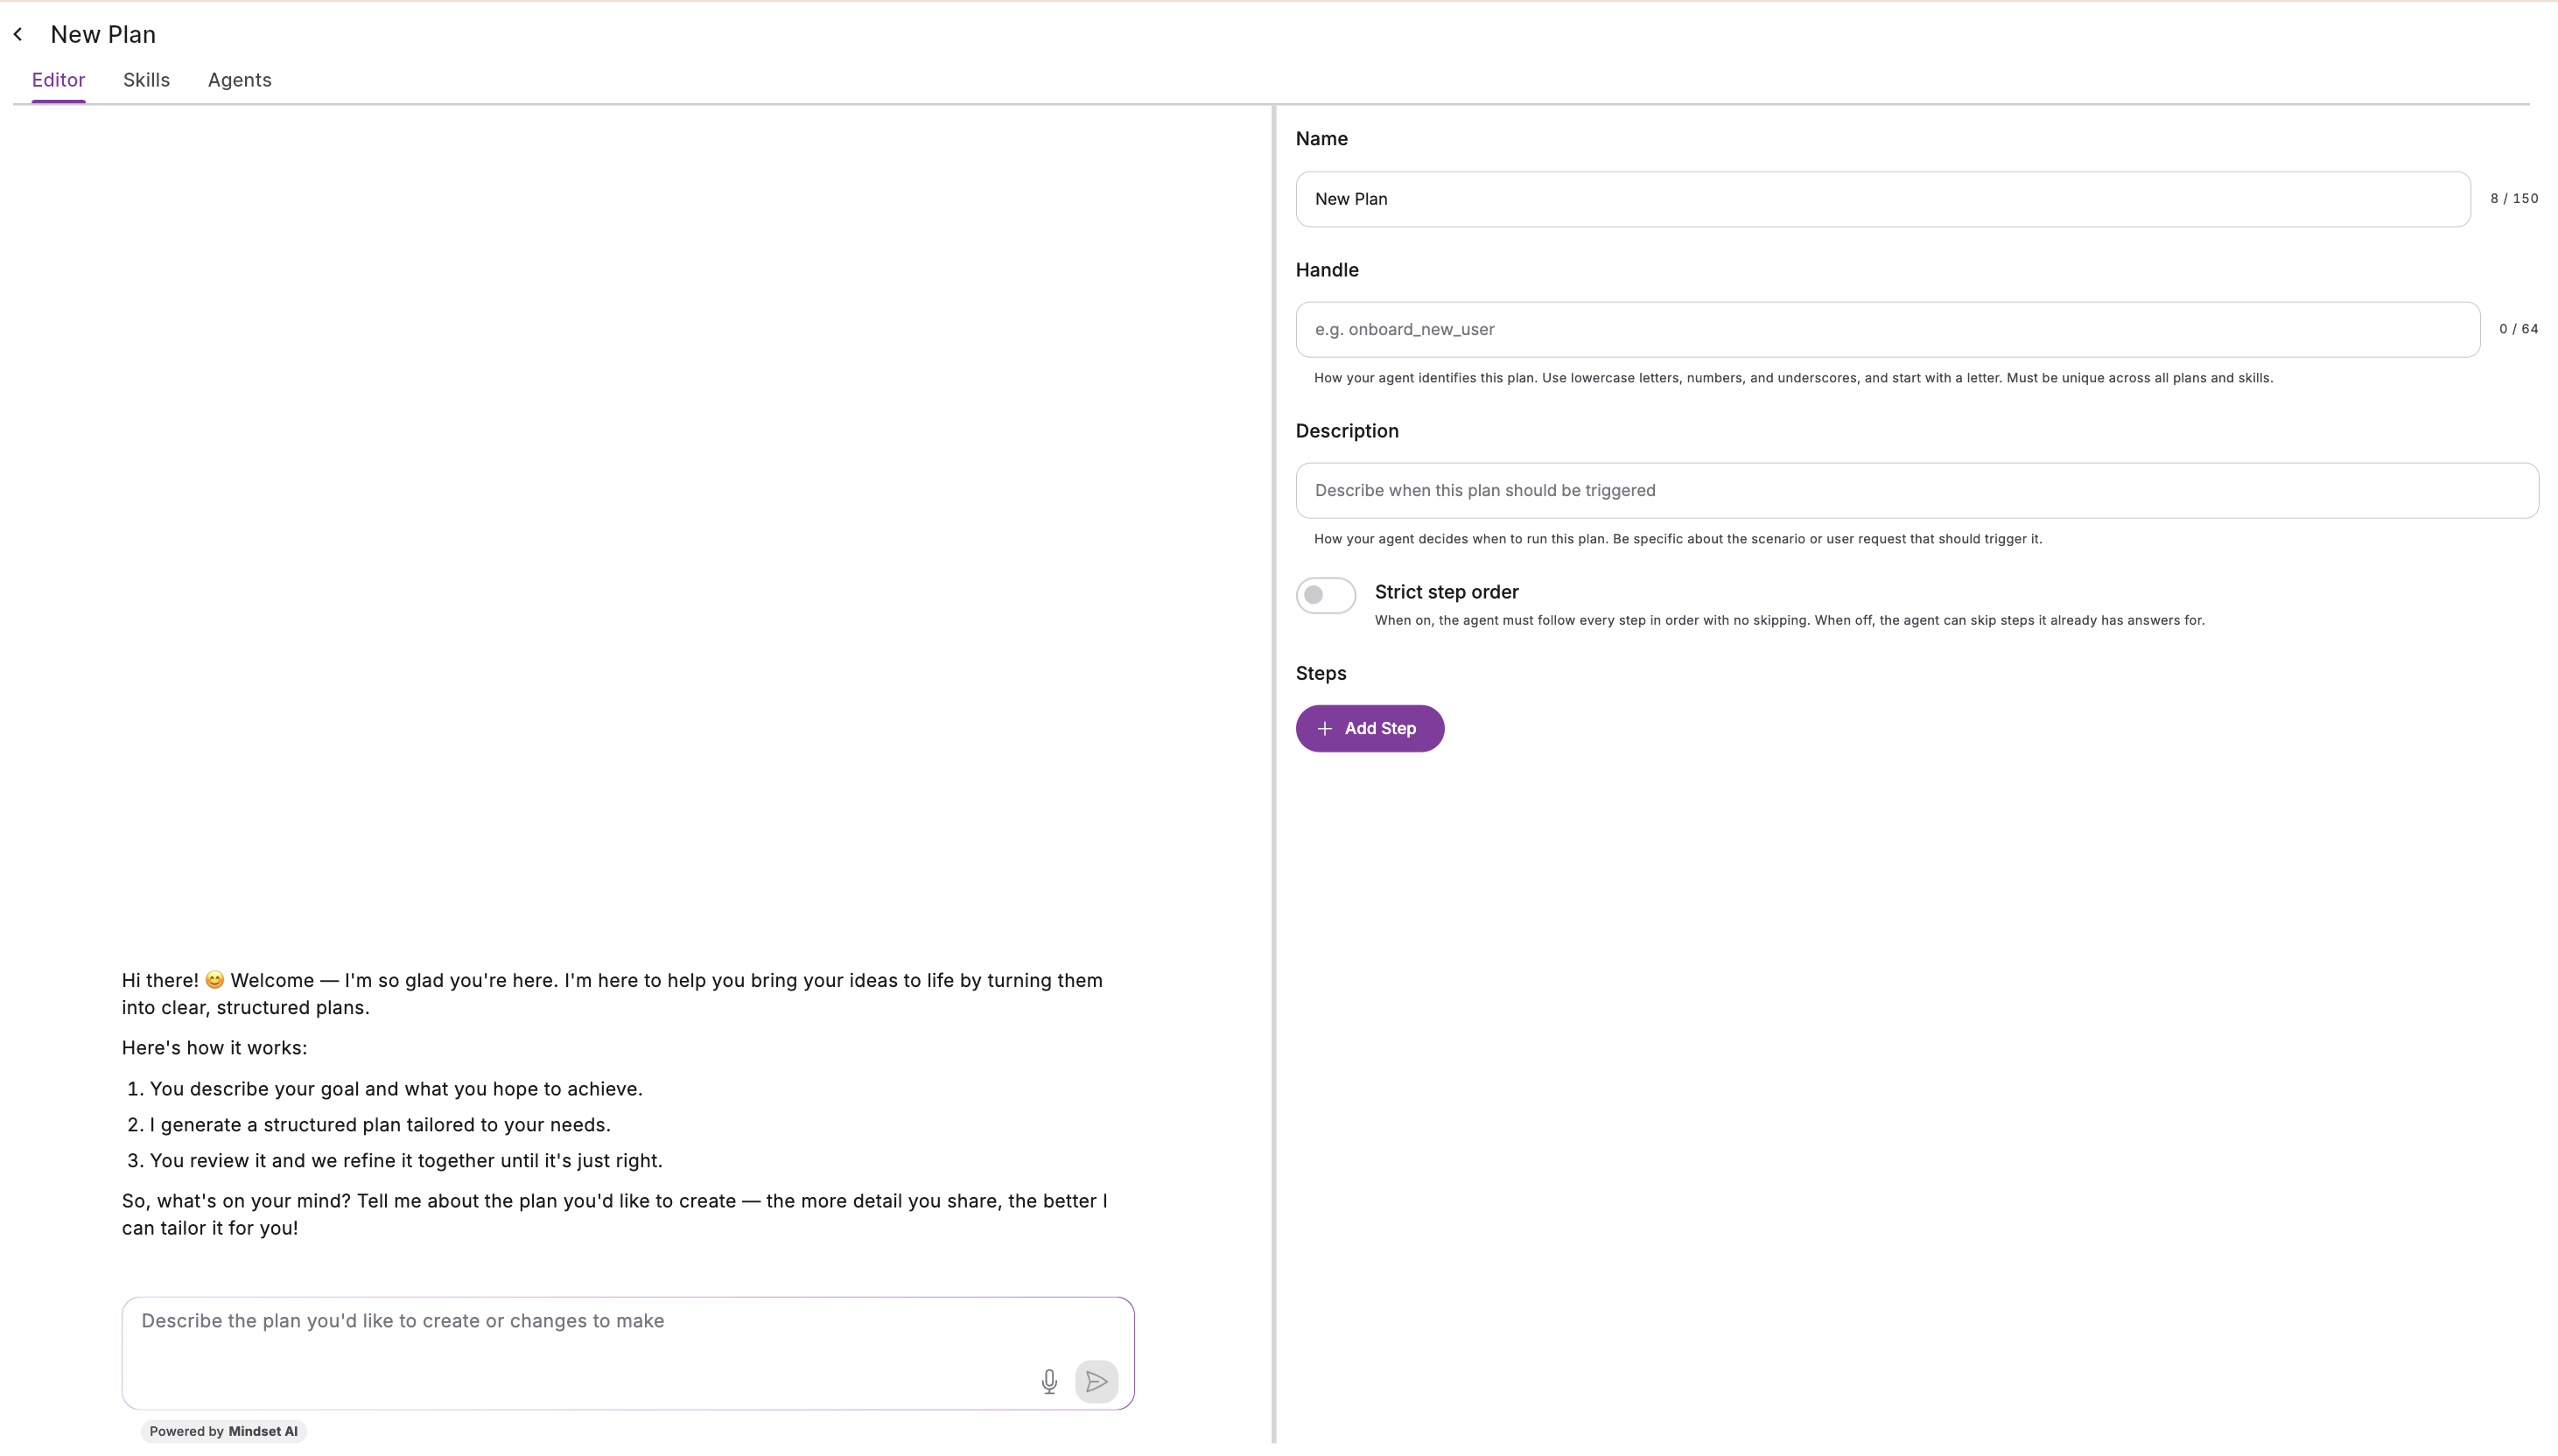 Describe it to the Plan Creator Agent. Tell the agent what you want, either in a single sentence or a full brief, and it drafts the Plan for you: the name, handle, description, and a set of steps. For example, “help me create a plan to onboard a new employee.” Keep chatting to refine it, such as “add a step for setting up their email” or “make the training step more detailed,” and the agent updates the Plan as you go.
Or build it yourself. Select Add Step to add each step with its own name and instructions, and fill in the details yourself.
Most people use a mix: let the agent draft a first version, then adjust it by hand, or sketch the outline yourself and ask the agent to fill in the detail. Work whichever way suits you.
Describe it to the Plan Creator Agent. Tell the agent what you want, either in a single sentence or a full brief, and it drafts the Plan for you: the name, handle, description, and a set of steps. For example, “help me create a plan to onboard a new employee.” Keep chatting to refine it, such as “add a step for setting up their email” or “make the training step more detailed,” and the agent updates the Plan as you go.
Or build it yourself. Select Add Step to add each step with its own name and instructions, and fill in the details yourself.
Most people use a mix: let the agent draft a first version, then adjust it by hand, or sketch the outline yourself and ask the agent to fill in the detail. Work whichever way suits you.
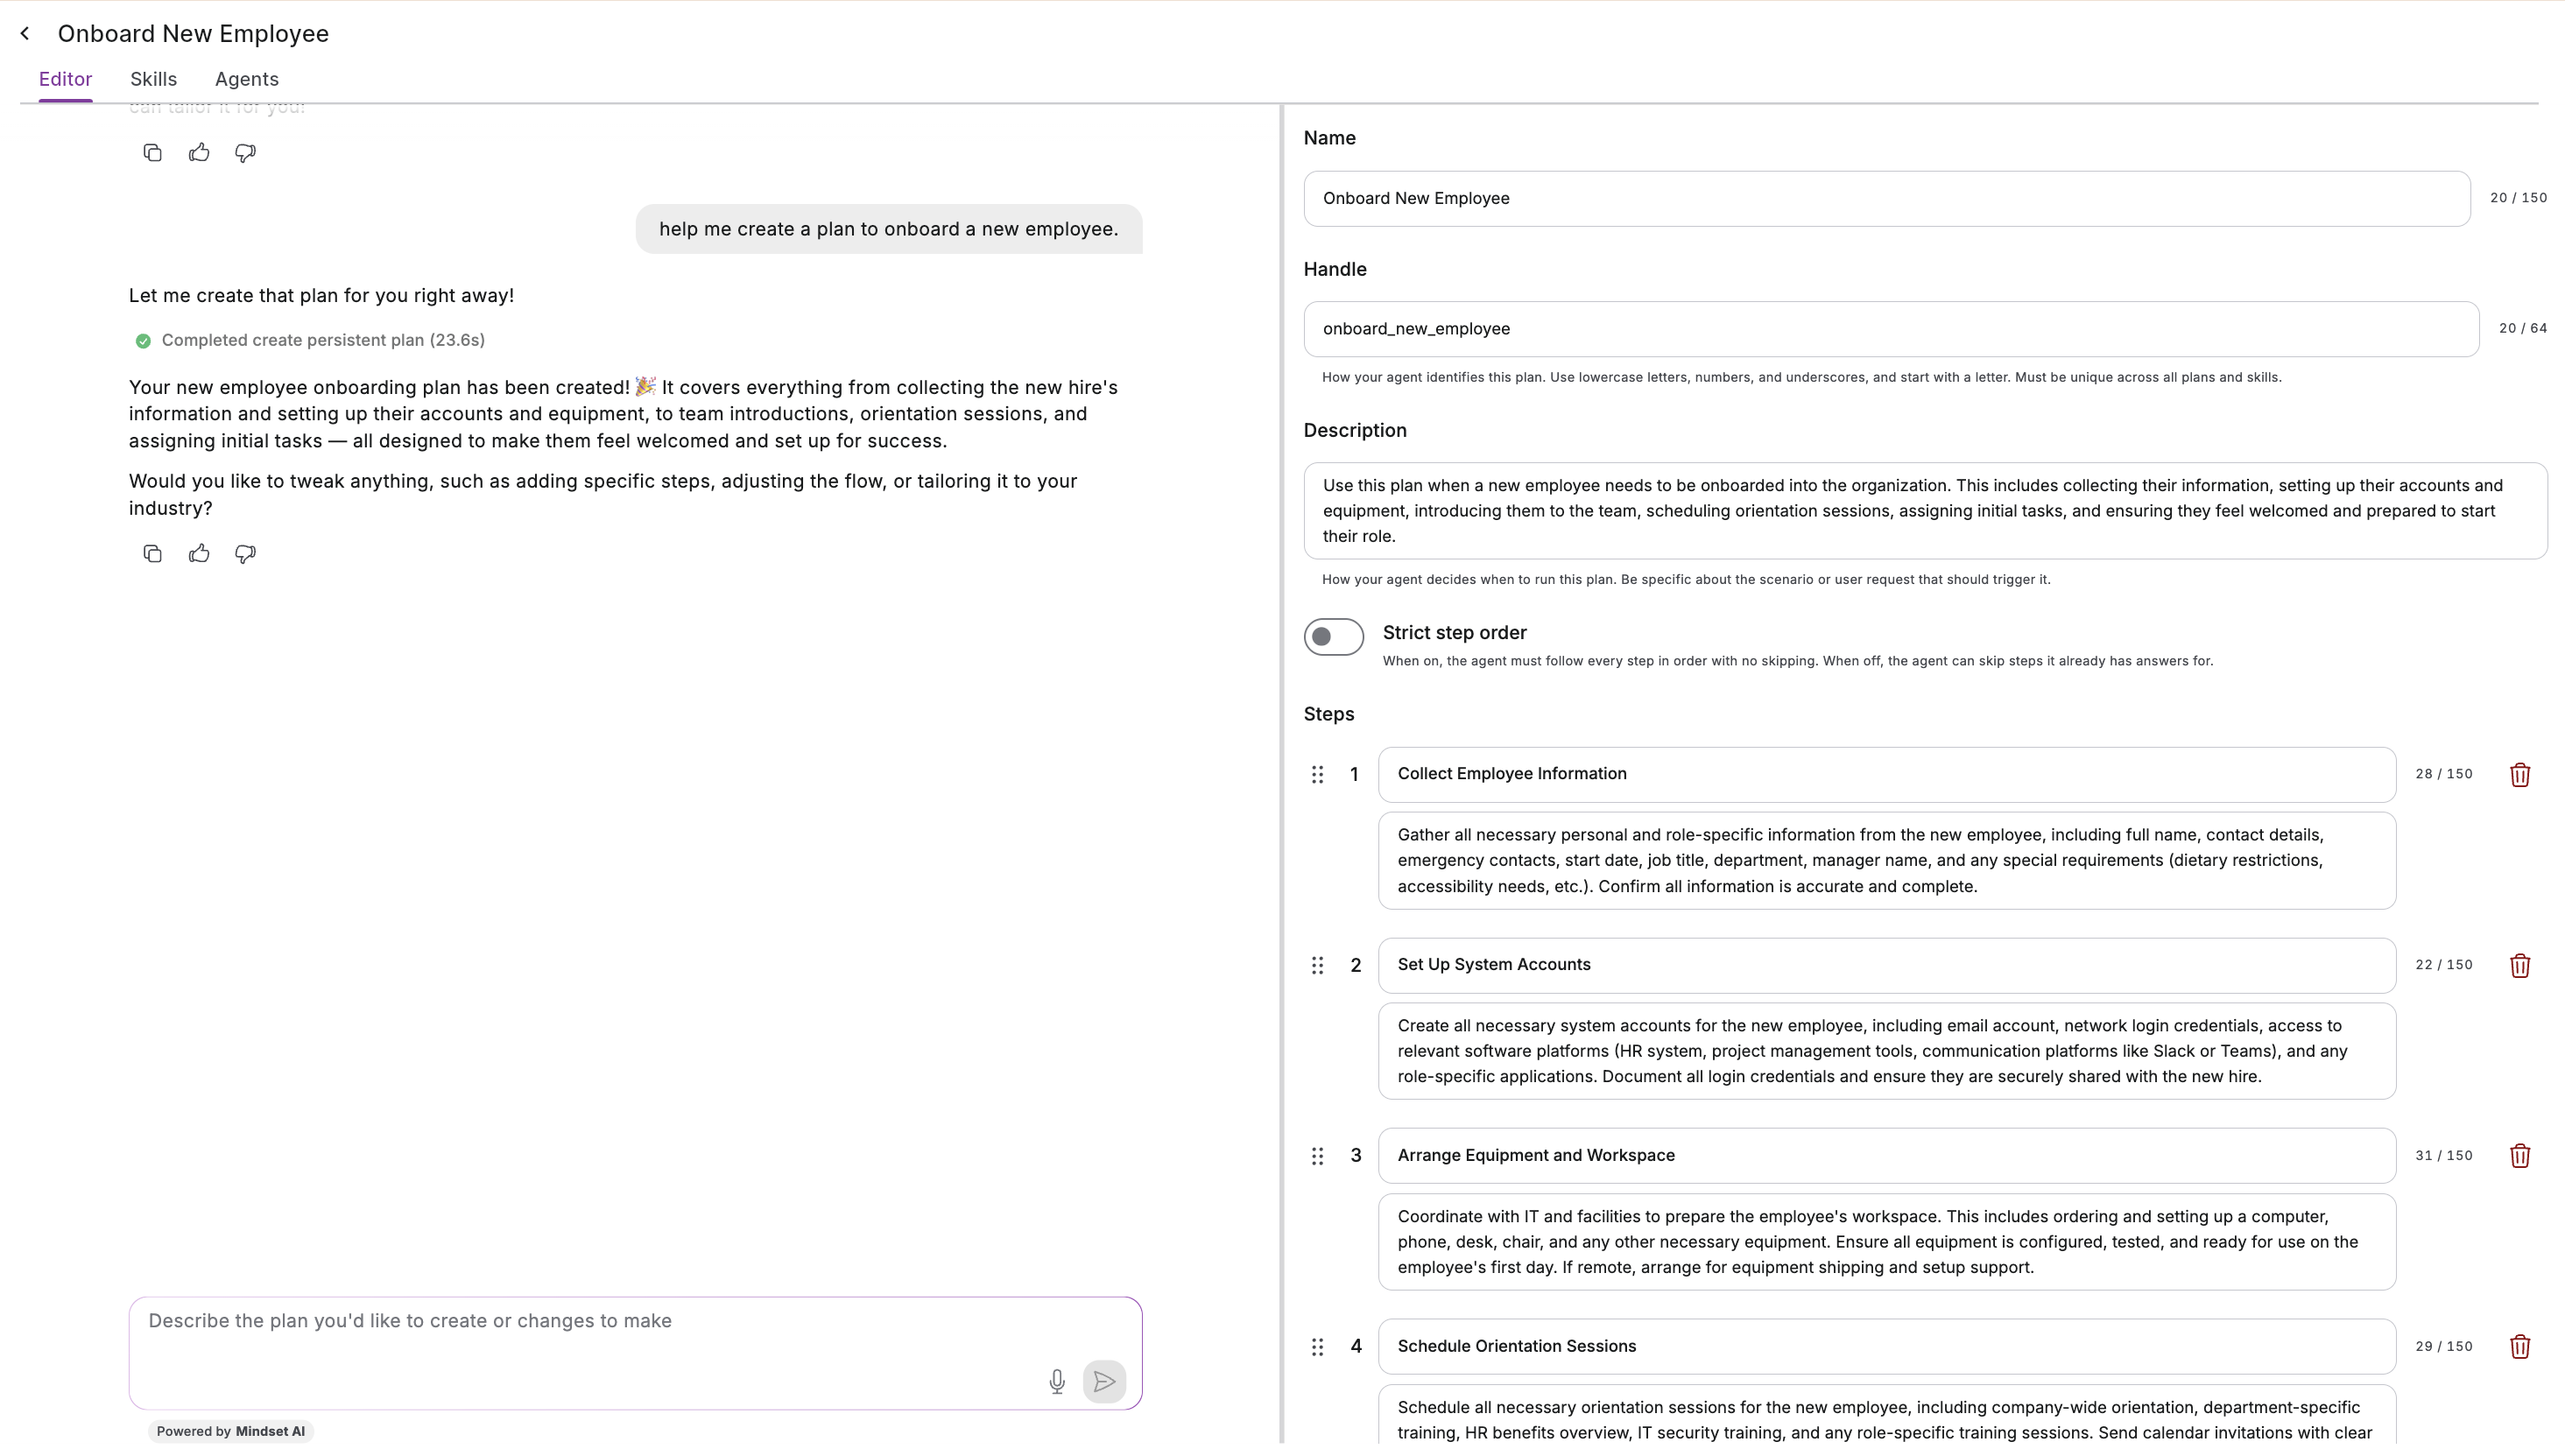
Review and edit the steps
Each step has a name and a set of instructions. Once you have a draft, fine-tune it:- Edit any step’s name or instructions directly.
- Drag a step by its handle to reorder it.
- Delete a step with the bin icon.
- Select Add Step to add another.
Name your Plan and set how the agent finds it
If you built the Plan with the agent, these are already filled in, so review and adjust them. You can rename a Plan or change any of these at any time. Name. A clear, human-readable name for the Plan, such as “Onboard new employee.” This is the name your users see when the Plan appears as a welcome card or in the prompt menu. Handle. How your agent identifies the Plan. Use lowercase letters, numbers, and underscores, and start with a letter, for exampleonboard_new_employee. A handle must be unique across your Plans and Skills, and across the agent’s other tools if it has any. If two items share a handle the agent can’t tell them apart, so keep each one distinct.
Description. How the agent decides when to run the Plan. Be specific about the scenario or user request that should trigger it, for example “Use this when a manager wants to onboard a new team member, covering account setup, team assignment, and orientation.” A precise description means the agent runs the Plan at the right moment.
Choose how strictly the agent follows the steps
The Strict step order toggle controls how closely the agent sticks to your steps.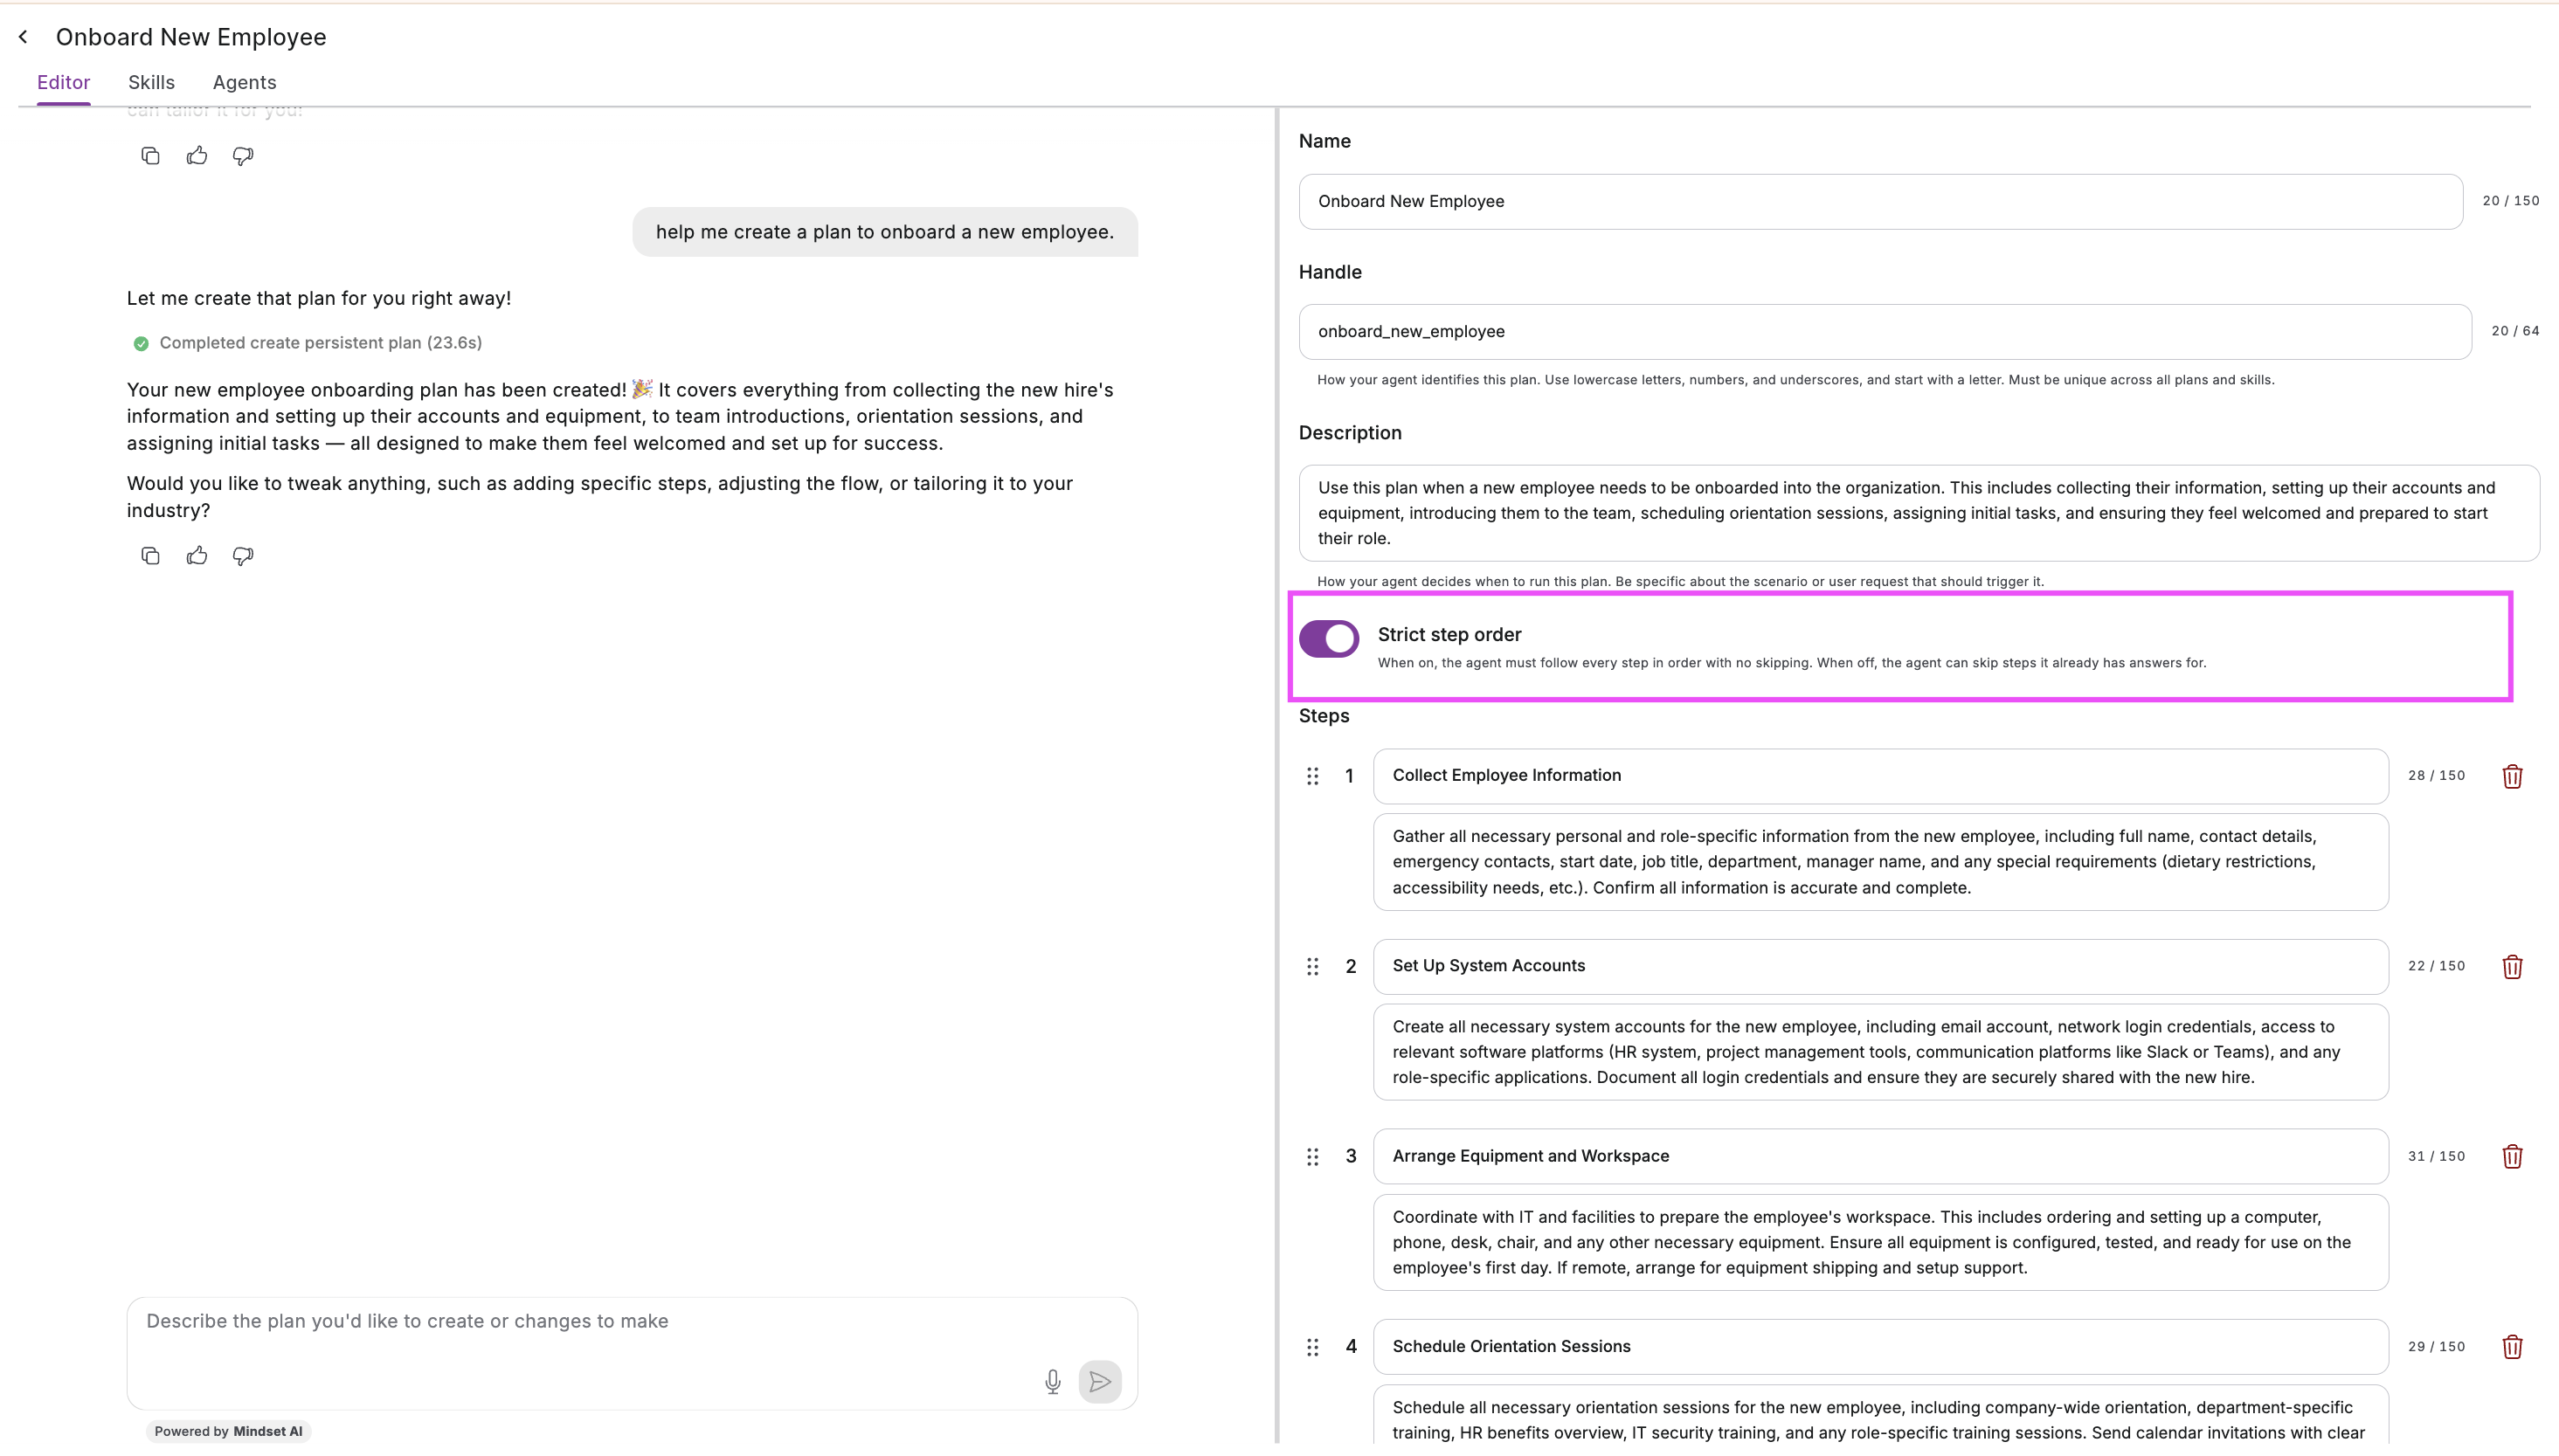
- On. The agent follows every step in order and skips nothing. Use this when each step has to happen every time, for example a support intake where the user needs to provide every detail.
- Off. The agent can skip a step when it already has the answer, for example if the user gave that information earlier in the conversation, so it doesn’t ask twice.
Save your changes
When you’re happy with the Plan, save your changes.Attach Skills (optional)
Open the Skills tab to attach one or more Skills to the Plan. A Skill gives the agent extra knowledge to draw on while it works through the Plan. This is optional, so skip it if the Plan doesn’t need it. See Create a Skill for more.Assign the Plan to an agent
A Plan only runs for the agents it’s assigned to. You can assign it two ways:- In the Agent Management Studio. Open the Agents tab to assign the Plan to one or more agents.
- Through the API. Assign Plans to an agent programmatically using the Agents API or the Agent Sessions API.
Decide how users reach the Plan
Open the Overview tab to see your Plan’s details and the Welcome Card setting.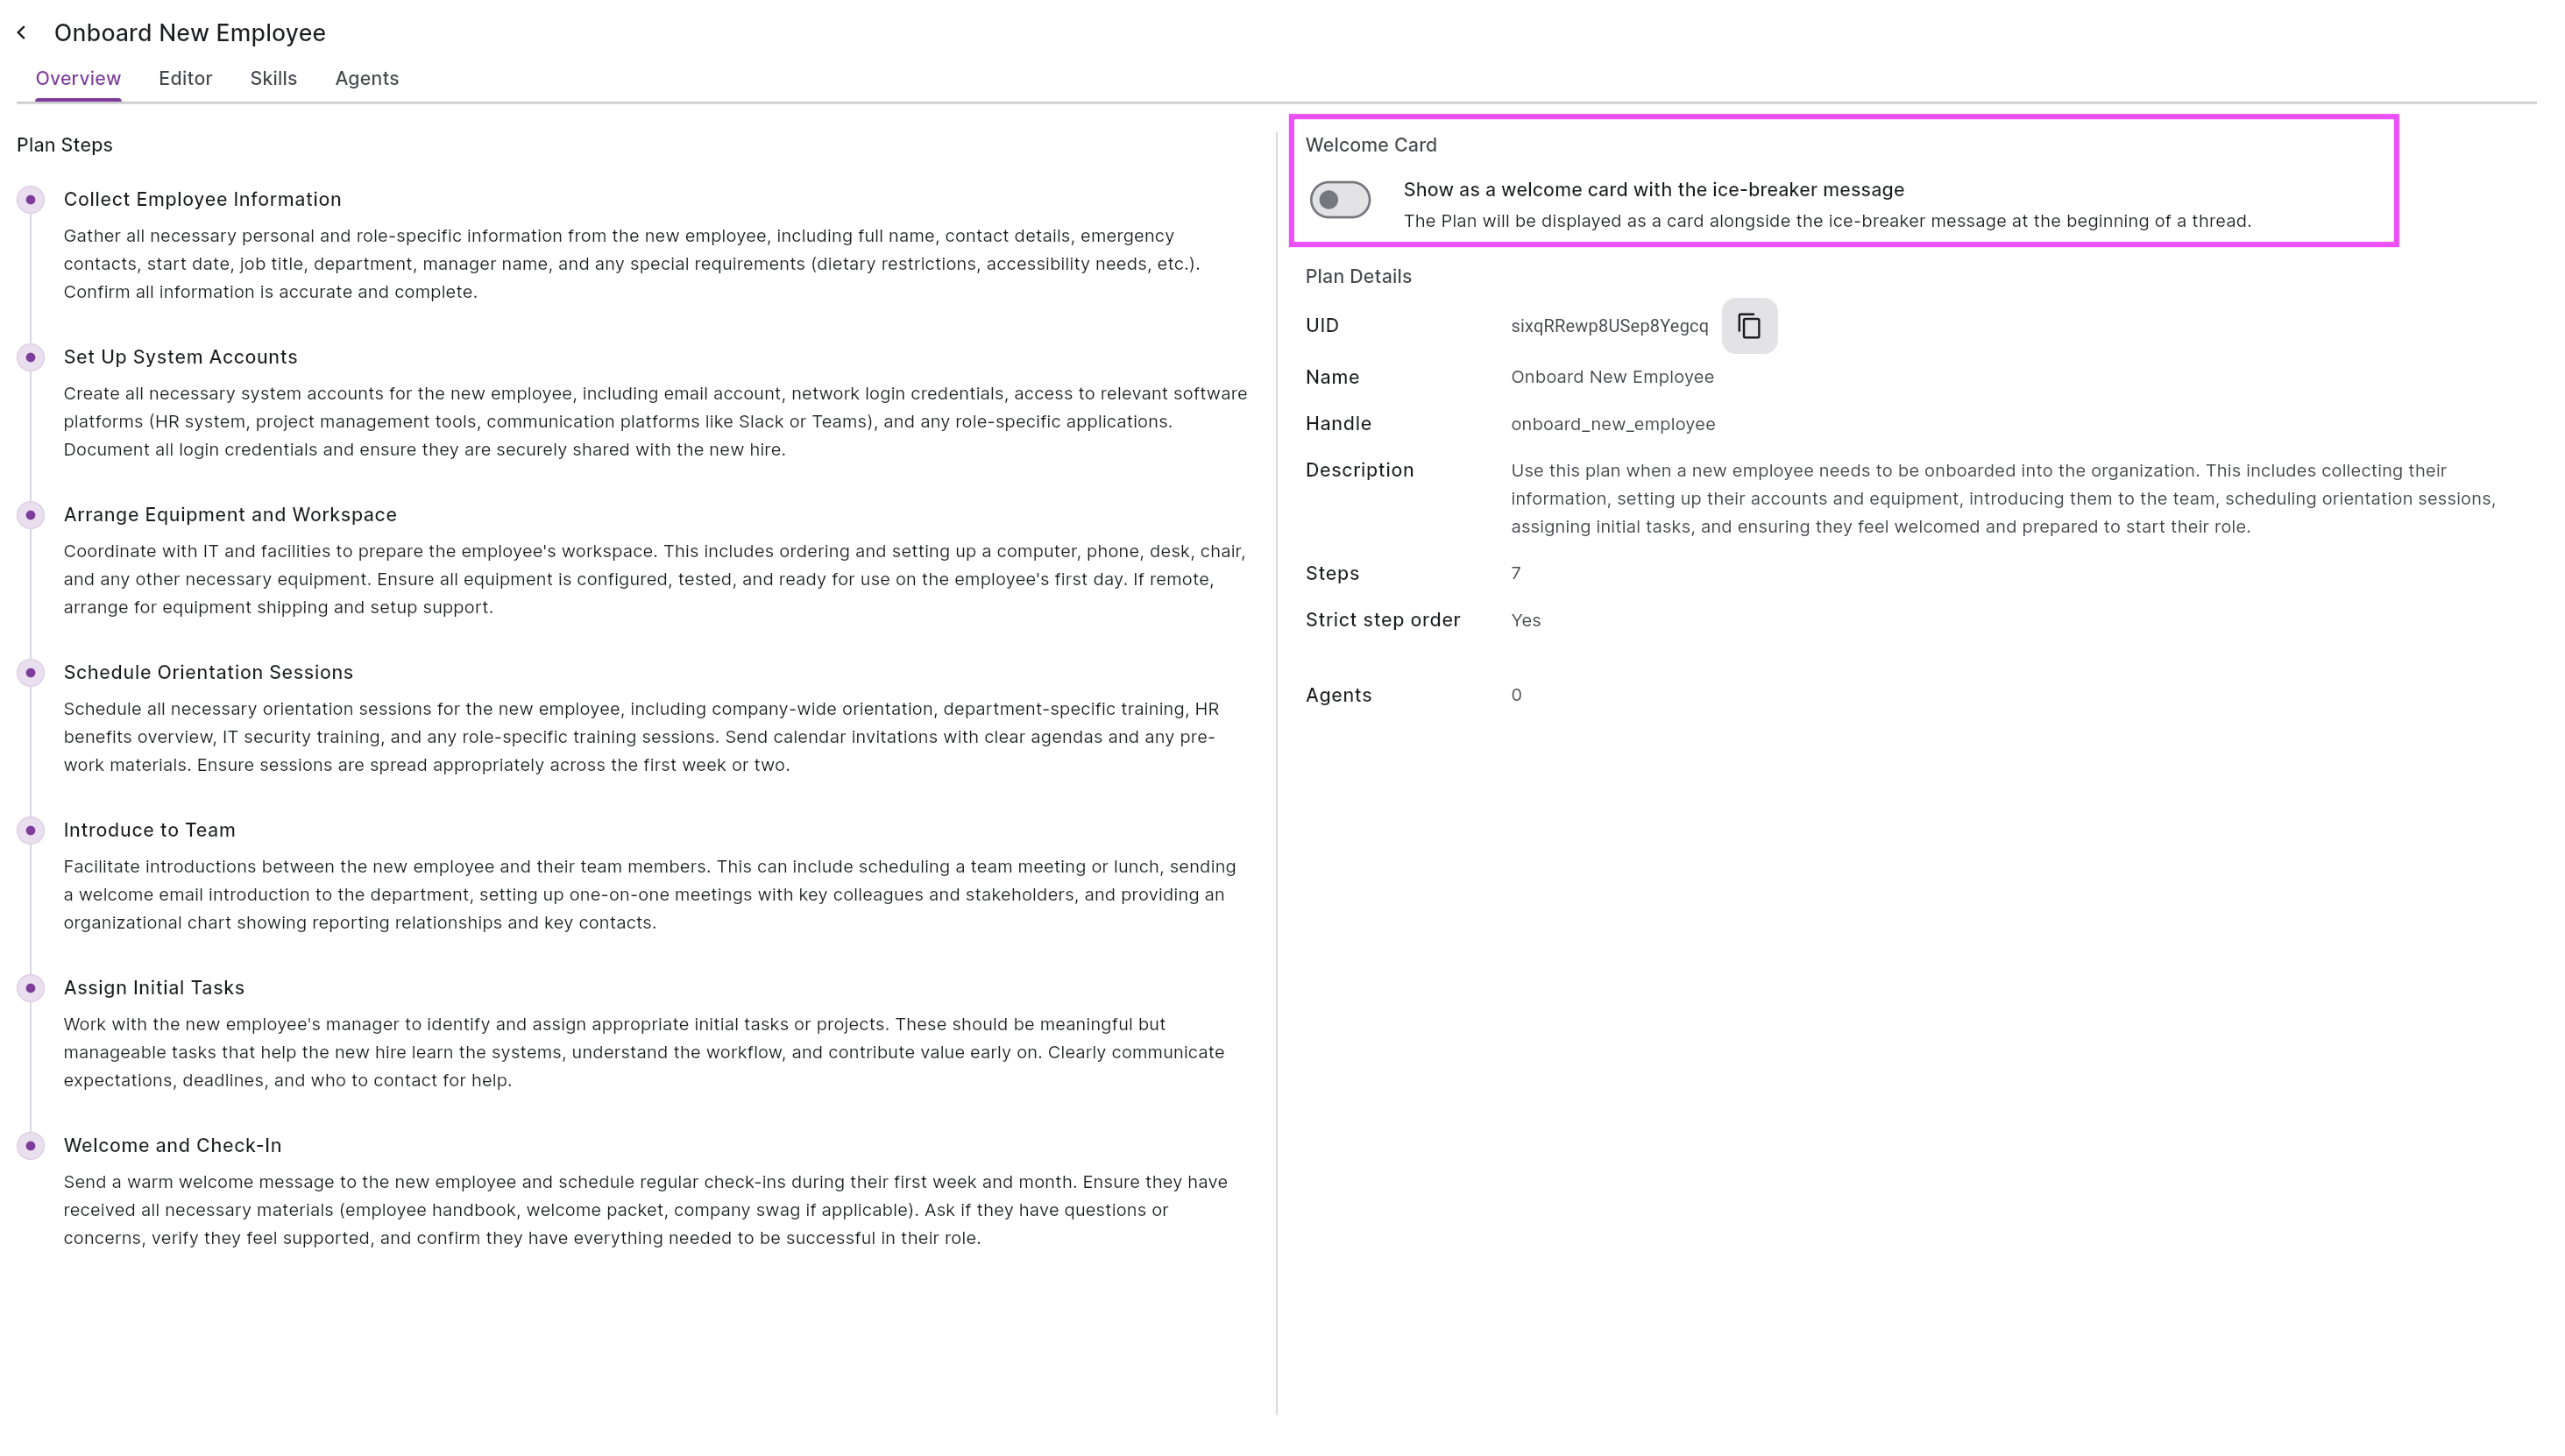 There are three ways a Plan can start:
- Welcome card. Turn on Show as a welcome card with the ice-breaker message and the Plan appears as a card at the start of a thread, so users can pick it straight away.
- Prompt menu. If the agent has its prompt library enabled, users can choose the Plan from the prompt menu.
- In conversation. The agent matches what the user says against the Plan’s description and starts the Plan when it fits, without the user picking anything.
Edit a Plan later
You can reopen a Plan at any time to change its steps, details, attached Skills, or assigned agents. It opens on the Overview tab, and your changes apply to new conversations once you save.Next steps
Create a Skill
Add reusable knowledge your Plans and agents can draw on.
Plans overview
How Plans work and what your users experience.